

You can grow more vegetables indoors by choosing compact, high-yield crops, giving them steady light, and using the right containers and soil or hydroponic setup. Give plants the light, water, and space they actually need, and you’ll multiply your harvests without turning your home into a greenhouse.
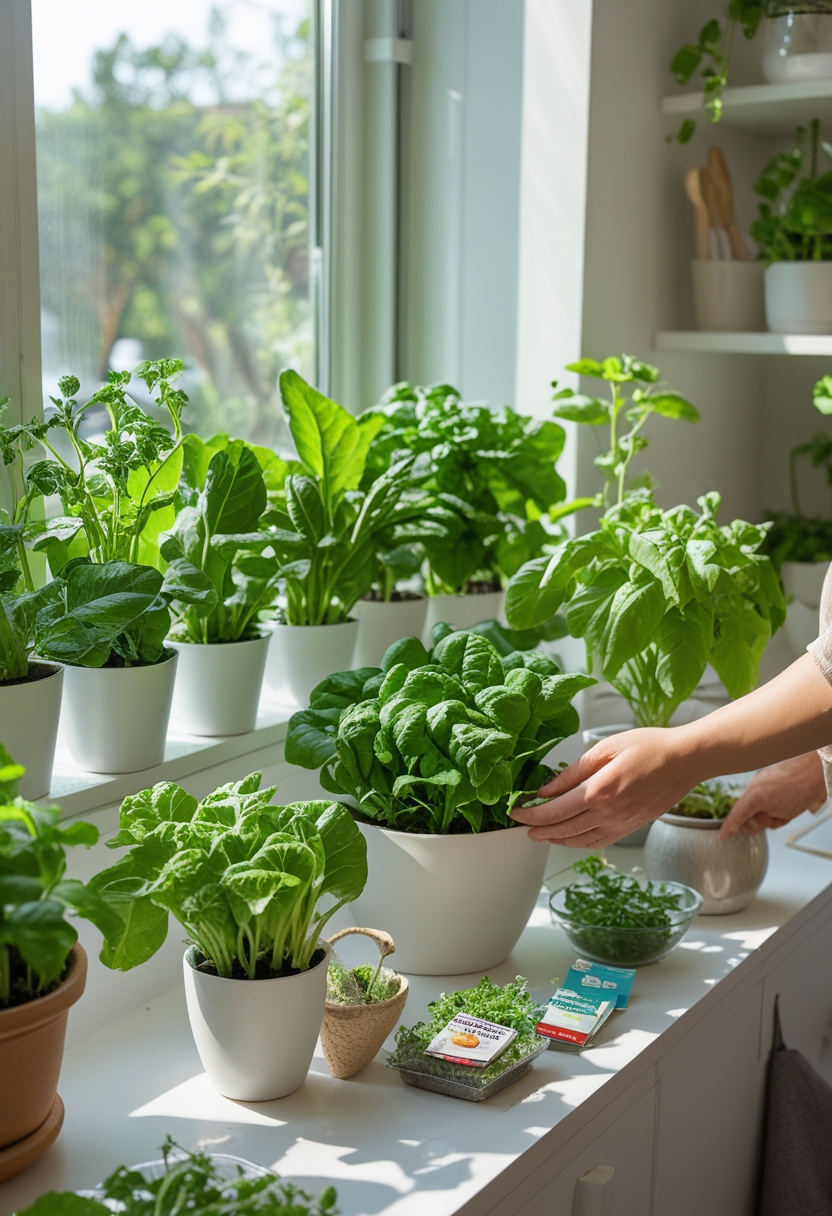
This guide shows which vegetables and herbs work best inside, how to match lighting to each crop, and when to use potting mix versus hydroponics. You’ll also learn simple steps to prevent pests and disease so your indoor vegetable garden stays productive season after season.
Choosing the Best Vegetables and Herbs for Indoors
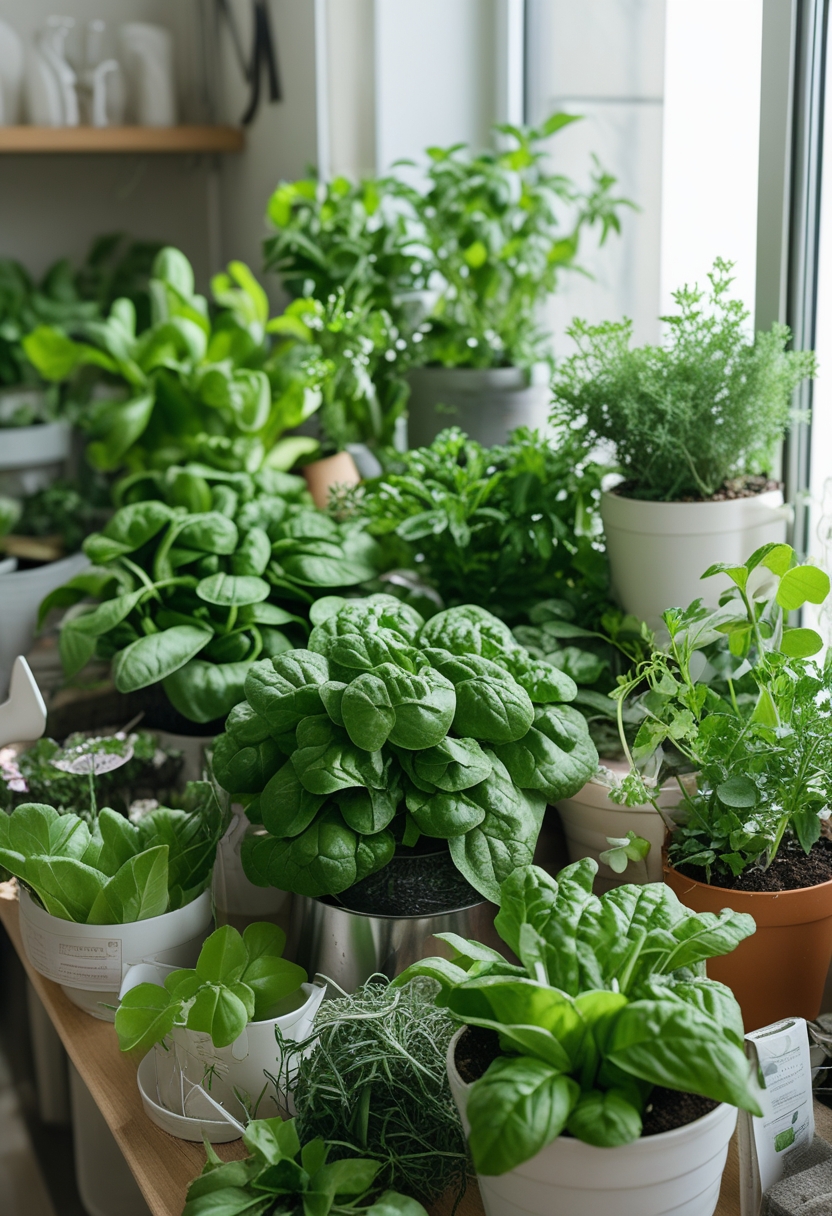
Pick plants that fit your light, space, and time. Focus on quick growers and shallow-rooted species for small containers, and reserve taller or heavy feeders for larger pots with strong light.
Leafy Greens, Root Vegetables, and Microgreens
Leafy greens like lettuce, spinach, and baby kale do well in shallow trays and need about 10–14 hours of light or a good LED. Sow seeds densely for cut-and-come-again harvests and keep soil evenly moist. Microgreens and sprouts grow fastest — you can harvest microgreens in 7–21 days and they need only a shallow tray and consistent moisture.
For root vegetables, choose small varieties: radishes, baby carrots, and certain potatoes work indoors. Use deeper containers (6–12 inches) with loose, well-draining mix. Radishes mature in as little as 30 days; carrots need longer, so pick short or “thumbelina” types for limited depth.
Rotate pots for even light, and label varieties so you track days to maturity. If you lack south-facing windows, use grow lights and a timer to give greens steady light without burning them.
Best Herbs for Indoor Growth
Basil, parsley, cilantro, mint, and thyme suit indoor life and repay you with frequent snips. Basil and cilantro prefer bright light and regular moisture; mint and parsley tolerate lower light and recover quickly after cutting. Match herbs by water needs if you share a pot.
Use pots with drainage and feed herbs with a balanced liquid fertilizer every 4–6 weeks. Keep herbs 6–12 inches apart so air can move and leaves dry after watering to reduce disease. For compact charm and reliable production, try a compact tomato variety like Tiny Tim if you want fruiting plants in a sunny spot.
Harvest frequently: pinching back growing tips encourages bushier plants and more leaves. Store seed packets and germination times near your growing area to plan successions and keep a steady supply of fresh herbs.
Optimizing Light for Vigorous Growth
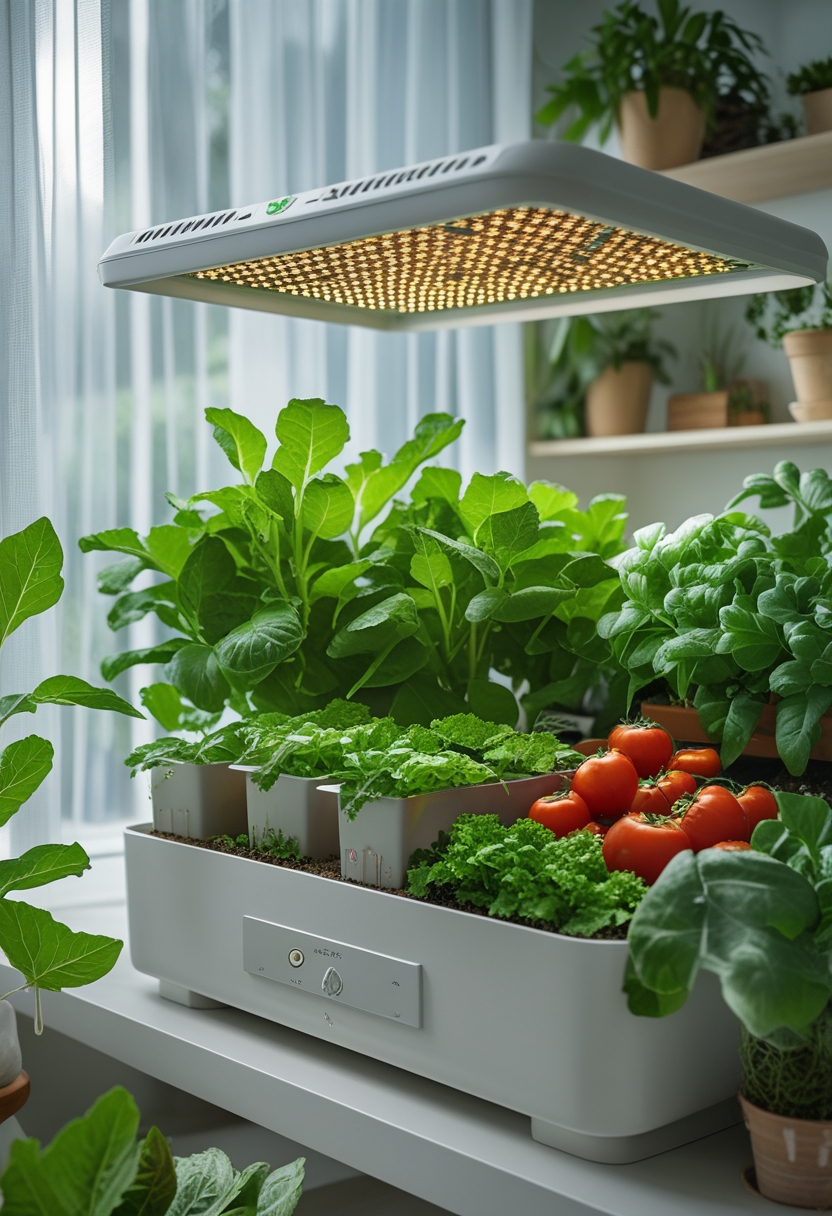
Good light means stronger plants, faster growth, and better yields. Focus on light quality, intensity, and timing when you plan your indoor garden.
Natural vs. Artificial Light
Natural sunlight gives a full spectrum and high intensity but varies by season and window direction. South-facing windows deliver the most usable light in the Northern Hemisphere, but even then intensity drops in winter. Use a light meter or smartphone app to check hours and lux at canopy level before relying on a window.
Artificial grow lights fill gaps sunlight can’t. LED grow lights use less energy and emit less heat than old HPS or fluorescent options. Choose full-spectrum grow lights when you want a single fixture that supports seedlings through fruiting. Place lights closer for higher PPFD needs, and move them back if leaves show bleaching.
Combine both when possible. Put trays near windows and run LEDs on a timer to extend daily light. This hybrid approach lowers electricity use while keeping consistent intensity.
Selecting and Setting Up Grow Lights
Match your lights to plant type and grow space size. Leafy greens need about 200–400 µmol/m²/s PPFD, while fruiting crops like tomatoes want 500–600 µmol/m²/s. Look for LED fixtures that list µmol/J efficiency and PPFD charts for different hanging heights.
Mount lights with adjustable hangers and use a chain or ratchet system for easy height changes. Keep LEDs 12–24 inches above the canopy as a starting point; reduce distance for low-intensity models or increase distance for high-output panels. Aim for even coverage—use two smaller fixtures rather than one small center light for wider racks.
Control heat and airflow. Even efficient LEDs produce some heat; add an oscillating fan and monitor canopy temperature. Use reflective walls or a grow tent to maximize light use in compact indoor gardens.
Ensuring Proper Light Duration
Set a consistent daily schedule with a programmable timer. Seedlings do best at 16–18 hours of light. Move to 14–16 hours during vegetative growth and 12–14 hours for flowering or fruiting stages of tomatoes and peppers.
Maintain a true dark period. Plants need continuous darkness for respiration and hormonal signals. Avoid short mid-cycle interruptions from room lights or doors opening.
Stagger plantings to keep harvests steady. For example, start a new lettuce tray every two weeks using the same timer schedule. Monitor plant response and adjust hours if you see leggy growth (increase light) or leaf burn (reduce intensity or duration).
Soil, Growing Media, and Hydroponic Methods
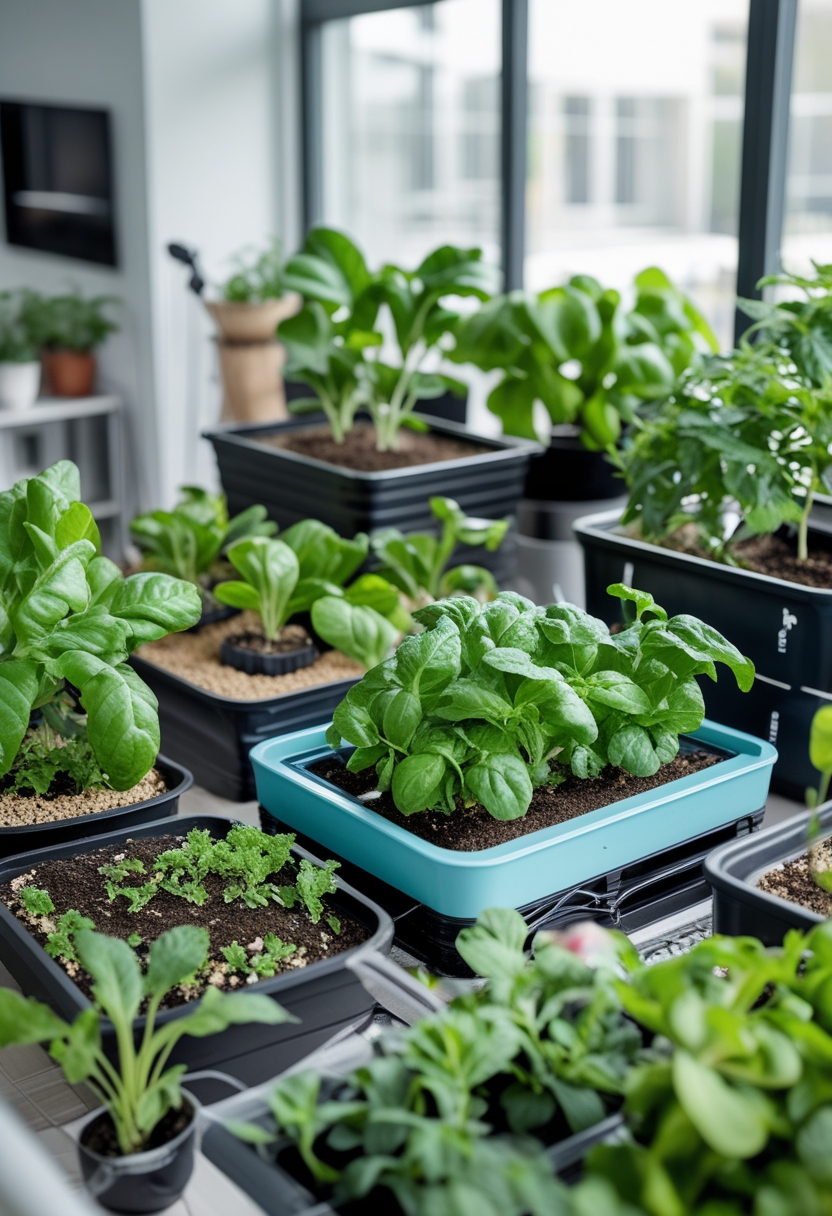
Pick media that matches your space, crop, and schedule. Good choices give roots air, water, and steady nutrition while staying easy to manage.
Choosing the Right Potting Mix
Use a potting mix labeled for indoor vegetables. Look for a blend with peat or coconut coir, perlite, and composted bark. That mix holds moisture but drains so roots get oxygen.
If you choose coconut coir, rinse and buffer it first. Coir holds water well and is reusable for several seasons. It can bind calcium and magnesium, so feed plants with a balanced, coco-specific nutrient or add cal-mag supplements.
Check the label for pH (5.5–6.5 ideal) and sterile components to reduce pests and disease. For larger containers, add 10–20% perlite or pumice to improve aeration. Replace or refresh the top 2–3 inches of mix yearly to keep salts and old organic matter from building up.
Hydroponic Indoor Gardening
Hydroponics feeds roots directly through water with dissolved nutrients instead of soil. Systems vary: Deep Water Culture (roots in aerated reservoirs), drip/top-drip (timed feeds to media), and ebb-and-flow (flood and drain trays). Choose one based on space, crop size, and how much daily monitoring you can do.
Control pH (5.5–6.0) and electrical conductivity (EC) daily. Use coconut coir or inert media like clay pebbles in drip systems to support roots without adding nutrients. Maintain water temperature near 65–70°F and keep dissolved oxygen high with air stones or pumps to prevent root rot.
Start small to learn dosing and alarms. Use an RO or filtered water if your tap TDS is above 150 ppm. Regularly flush and change reservoir water to avoid salt buildup and keep nutrient ratios consistent.
Managing Pests and Preventing Disease Indoors
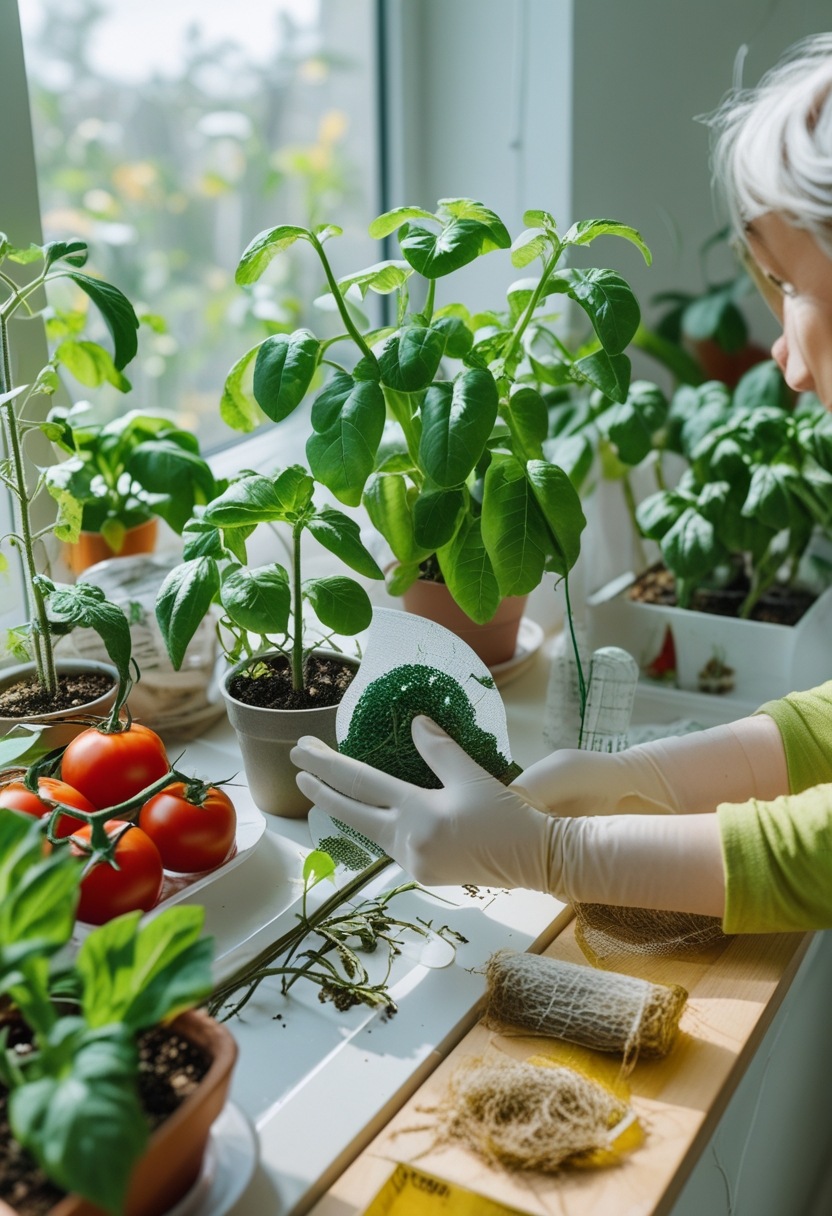
You can catch problems early by checking plants often, keeping the air moving, and using clean soil and tools. Small actions—like removing a single infested leaf, fixing drainage, or adjusting light—prevent bigger outbreaks.
Monitoring and Identifying Common Pests
Inspect plants at least twice a week. Look under leaves, at growing tips, and around the soil line for tiny insects and eggs. Aphids cluster on new growth and leave sticky honeydew. Whiteflies fly up when you tap foliage and hide on leaf undersides. Fungus gnats look like small dark flies near the soil and indicate overly wet potting mix.
Use a hand lens or phone camera to see tiny mites or eggs. Set yellow sticky traps near plants to catch whiteflies and fungus gnats and to measure pest levels. Keep a simple log: date, pest seen, plant affected, and action taken. That helps you spot trends and know when to act.
Natural and Preventive Solutions
Start with clean potting mix and sterile trays to avoid introducing pests. Water from below or let the top inch of soil dry to reduce fungus gnat breeding. Improve air flow with a small fan to lower humidity and slow fungal growth.
Use these controls:
- Manual removal: Wipe or pinch off aphids and egg clusters.
- Soap spray: Mix 1–2 tsp mild dish soap per quart of water; spray leaf tops and undersides.
- Neem oil: Apply per label every 7–14 days for soft-bodied pests and some fungal control.
- Biologicals: Use Bacillus thuringiensis israelensis (BTI) granules or mosquito dunk bits in soil to kill gnat larvae.
- Sticky traps: Place near foliage to reduce whiteflies and track infestations.
Disinfect pruning tools with 10% bleach or alcohol between plants. Quarantine any new plant for two weeks and inspect daily. Rotate plant families and avoid crowding to reduce disease spread.
