

Building a garden shed yourself gives you extra storage, a workspace, and a way to make your backyard more useful. You’ll learn practical steps for planning, a simple build process for a sturdy outdoor storage shed, and easy customization ideas so the space fits your needs and style. You can build a safe, weatherproof DIY garden storage shed on a modest budget by choosing the right plan, foundation, and materials.
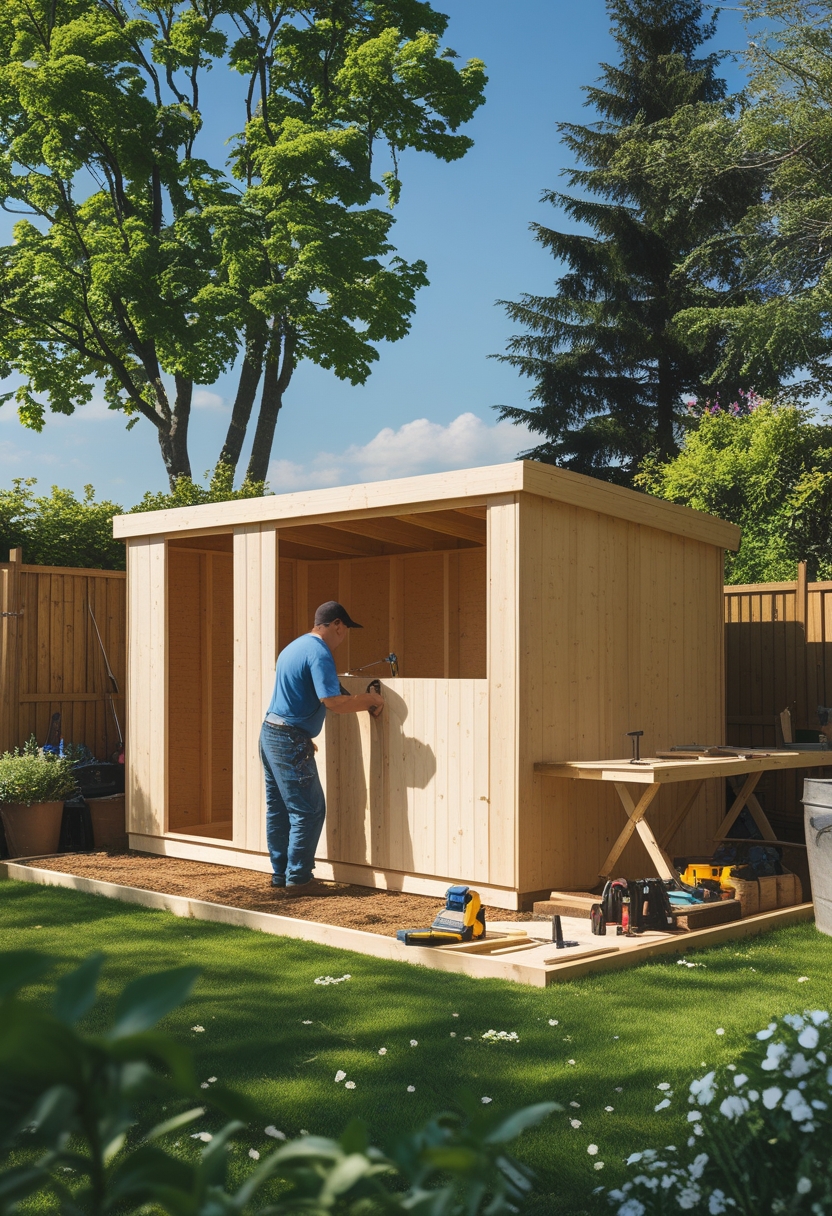
Start with a clear plan: pick the size, location, and a foundation that suits your yard and local rules. The article will walk you through framing, roofing, and finishing, plus smart tips for organizing tools, protecting plants, and turning a plain backyard shed into a useful studio or potting area.
Expect straightforward advice on materials, time, and common pitfalls so you won’t waste money or effort on the build. Practical design ideas will help you customize the space for storage, gardening, or a small workspace.
Essential Steps for Planning and Building a Garden Shed
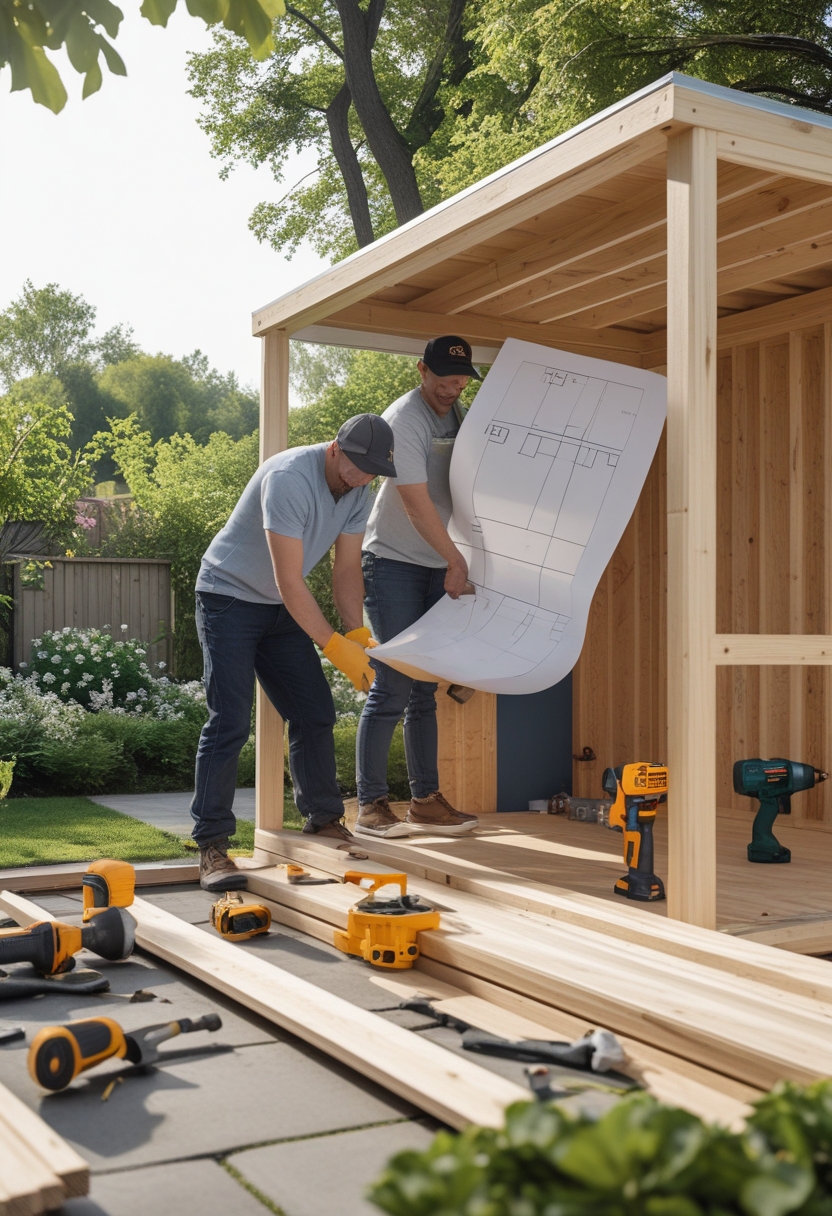
Plan your shed size, location, and purpose first. Decide whether you want a simple tool shed, a potting shed with a bench and window, or a larger schoolhouse-style storage shed, then match plans, materials, and a realistic budget.
Choosing the Right Shed Plans and Designs
Pick plans that match your skill and intended use. For basic storage, use simple wood shed plans or free shed plans with floor joists and a basic roof frame. If you need mower access, choose drive-thru or lean-to shed plans with larger doors. For style, consider Tudor-style or schoolhouse storage shed plans; for a small workspace, search for potting shed or she shed designs with a window and bench.
Check local rules before you build. Verify setbacks and permits, and measure your site for a level footprint. Decide if you want modular construction or a shed kit to speed assembly. Compare material lists and cut lists so you know quantities of pressure-treated lumber, rafters, and roofing.
Selecting Materials and Tools for Shed Construction
Choose durable materials: pressure-treated lumber for the sill and floor joists, standard framing lumber for walls, and plywood or boards for cladding. For roofing, use common rafters with asphalt shingles or metal roofing for longer life. Use exterior-grade screws and galvanized nails to resist corrosion.
Essential tools: circular saw, speed square, level, drill, tape measure, and hammer. A nail gun speeds framing but confirm you know how to use it safely. If you use a shed kit, expect pre-cut pieces, fasteners, and sometimes shingles. Budget for hardware: hinges, latch, flashing, and felt paper. Plan storage inside with vertical storage racks, shelving, and a potting bench if you’ll work inside.
Step-By-Step Building Process for a Wooden Shed
Start with the site and foundation. Clear and level the spot; build a gravel pad or use concrete piers or treated skids. Lay pressure-treated sill plates and fasten floor joists perpendicular to the sills. Install a plywood or tongue-and-groove floor panel.
Frame walls on the ground using your chosen wood shed plans, including openings for windows and doors. Raise walls and brace them temporarily. Build the roof frame with rafters or prefabricated trusses, add sheathing, underlayment, and asphalt shingles. Install siding, trim, doors, and windows.
Finish with weatherproofing: caulk joints, add flashing at roof and door transitions, and paint or stain exterior wood. Add interior touches like a potting bench, vertical storage hooks, shelves, and proper ventilation. Tie roofing and walls to the foundation with hurricane straps if your area requires it.
Common Mistakes and Tips for a Successful DIY Shed
Don’t skip planning or permits. Many builders underestimate permit needs and property setbacks, which can lead to fines or rework. Also avoid choosing plans that are too small; a slightly larger shed often serves better.
Use pressure-treated lumber for floor framing to avoid rot. Keep the floor level; an uneven base makes framing difficult. Don’t underestimate fasteners and flashing—cheap nails and no flashing cause leaks. Pre-cut shed kit parts can save time, but check each piece for accuracy before assembly. Finally, think about storage layout from the start: vertical storage, shelving, and a potting bench increase usable space and keep tools organized.
Practical Ideas and Expert Advice for Customization
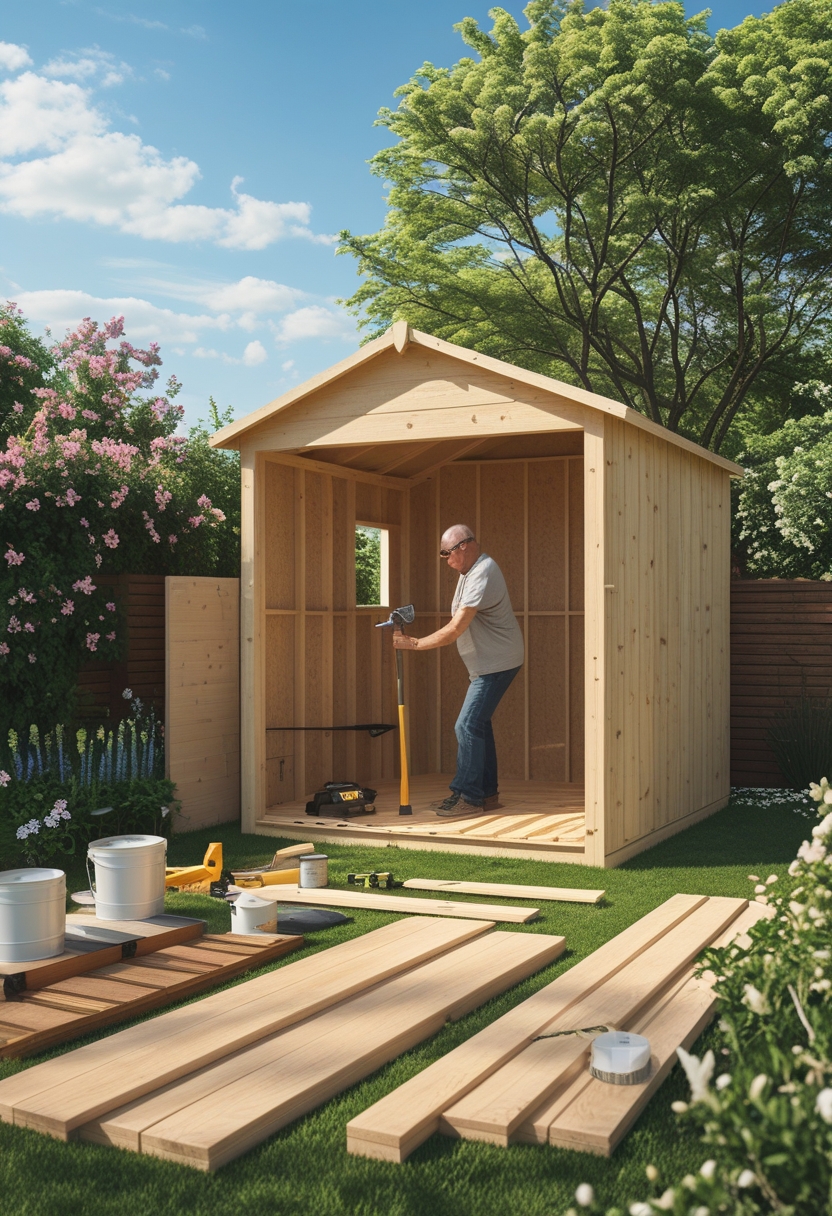
These tips show how to store tools, build useful work surfaces, and protect your shed from weather. Follow the specific layouts, materials, and placement advice to make a useful garden storage shed that fits your needs.
Creative Storage Solutions for Tools and Equipment
Use vertical storage to save floor space. Mount pegboards on a wall for hand tools and add labeled hooks for rakes, shovels, and hoses. Install a row of narrow vertical slots to hold long-handled tools upright and prevent tipping.
Build wall-mounted cabinets above a workbench for small items like seed packets and gloves. Use clear plastic bins with labels for bulbs, fertilizers, and potting mix so you can see contents quickly. Add a small rolling cart for heavy items like soil bags and power tools to move them out easily.
For a firewood shed or wood storage area, keep wood off the floor with a raised pallet or slatted shelf to promote airflow. Use adjustable shelving on one side of a wooden shed to switch between garden storage and hobby space. Spare vertical space works well for a fold-down table or a hanging bike rack.
Incorporating Features Like Workbenches and Shelving
Place a potting bench near a window or under a shed skylight for natural light. A bench 30–36 inches high works well for most people. Include a shallow sink or drip tray for messy jobs and a lower shelf for potting soil and containers.
Use heavy-duty brackets and 2×8 lumber for sturdy shelving that holds cinder blocks, seedling trays, or paint cans. Mix fixed shelves for heavy loads with adjustable shelves for changing needs. Add drawer units under the bench for small tools, labels, and twine.
If you plan to use the space as a tool shed and workspace, run a dedicated circuit and mount outlets above the bench for chargers and small power tools. Include pegboard panels in front of shelves for quick-access tools, and leave a clear floor zone of at least 3 feet for moving wheelbarrows or a lawn mower in and out.
Maximizing Shed Longevity and Weather Resistance
Start with a solid foundation: concrete piers, treated skids, or a compacted gravel pad to keep wood off damp ground. Pressure-treated floor joists and a raised floor prevent rot in a wooden shed or garden storage shed.
Use exterior-grade plywood or tongue-and-groove sheathing under siding. Seal joints with high-quality exterior caulk and paint or stain the shed with UV-resistant finishes. For a firewood shed, choose open slatted sides or screened vents so wood dries quickly and mold does not form.
Add roof overhangs and guttering to direct water away from the base. Install flashing around doors and windows and use a rubber threshold for extra waterproofing. In snowy climates, pick a steeper roof pitch and use metal or architectural shingles rated for your snow load to extend the life of the structure.
