
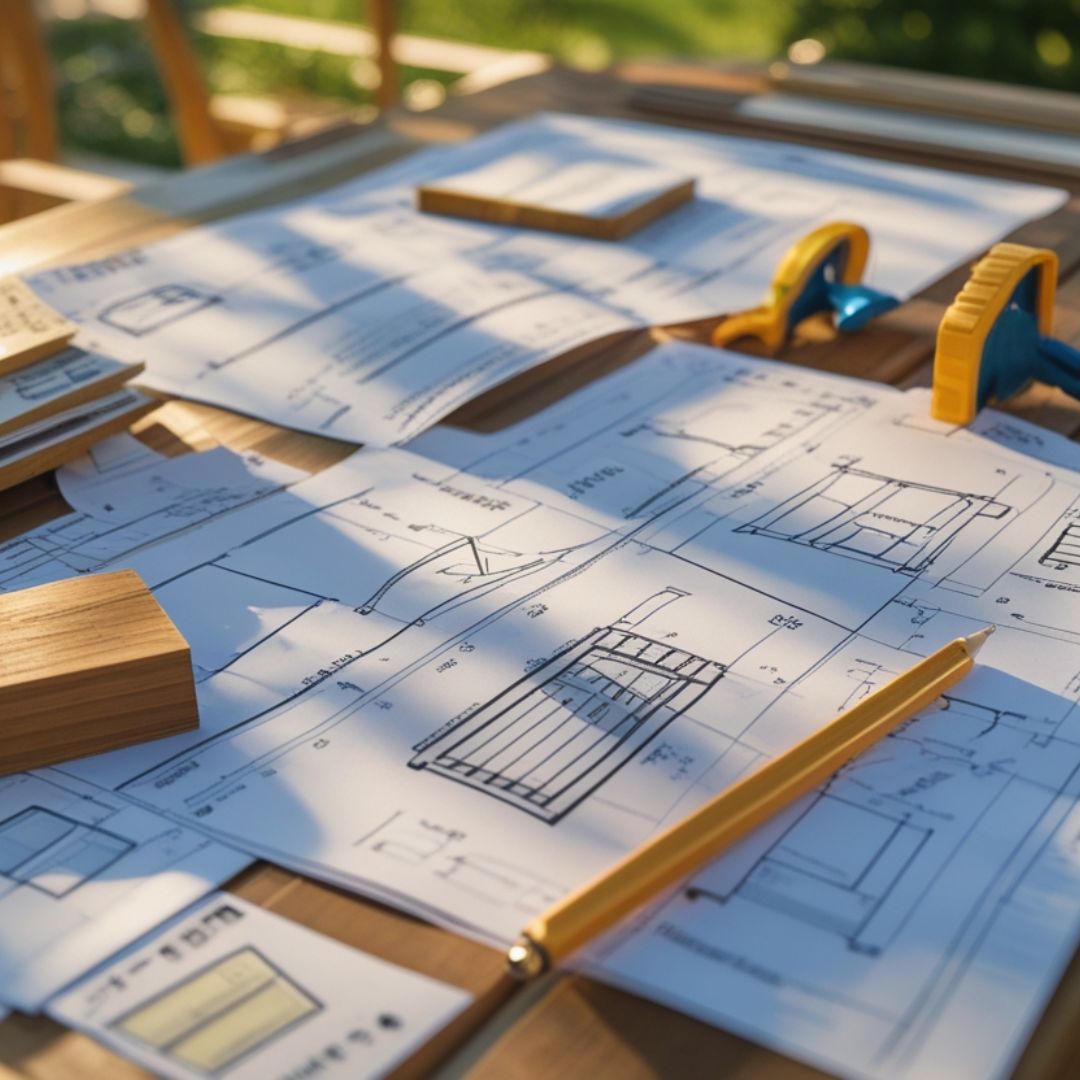
You can build outdoor furniture that fits your space, style, and budget—without buying expensive sets. Follow simple plans, pick weather-resistant materials, and use basic tools to make durable DIY patio furniture that looks great and lasts.
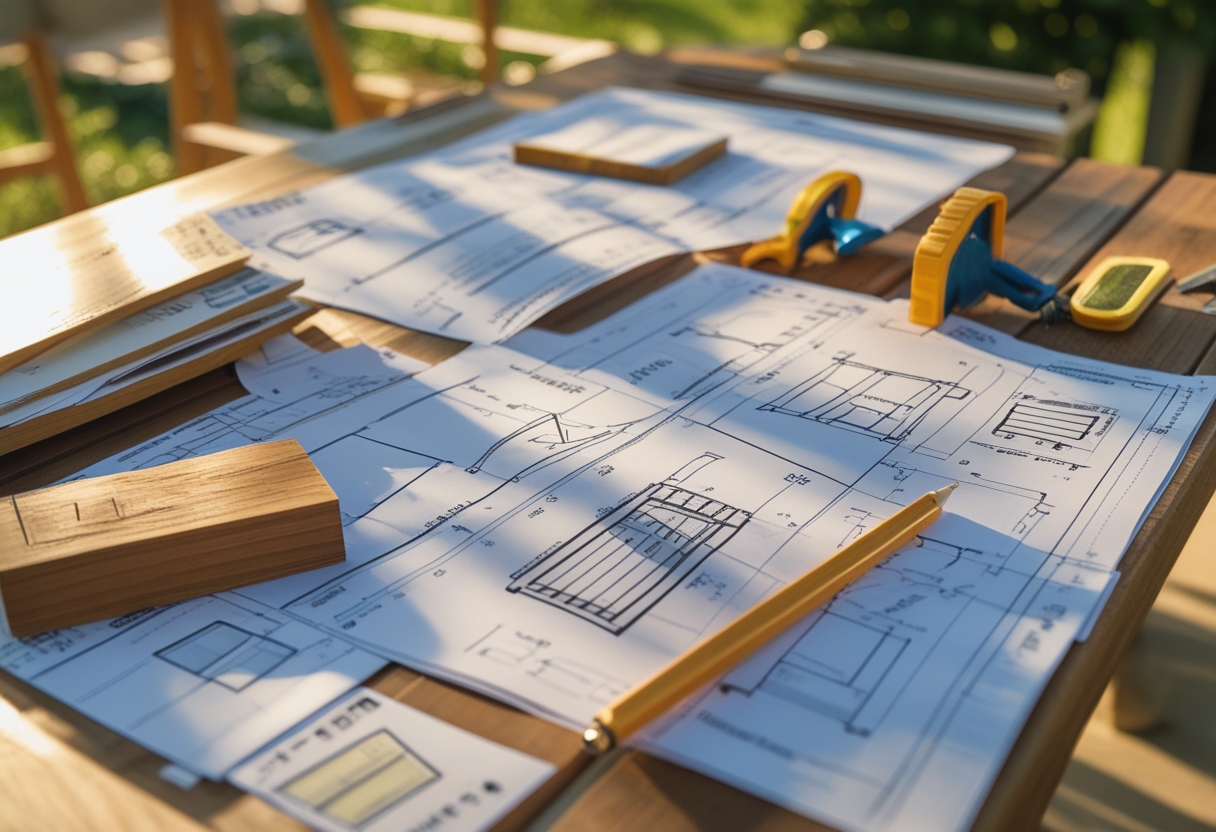
This post walks you through what to think about before you start, the tools and joinery that matter, and step-by-step projects for popular seating and table designs. Expect clear guidance on sizing, materials like cedar or HDPE, and joinery methods that keep pieces strong and weatherproof.
By the end, you’ll know which plans match your skills and how to tackle benches, sofas, chairs, and tables so your patio feels like an outdoor room you built yourself.
Key Considerations for Planning Outdoor Furniture
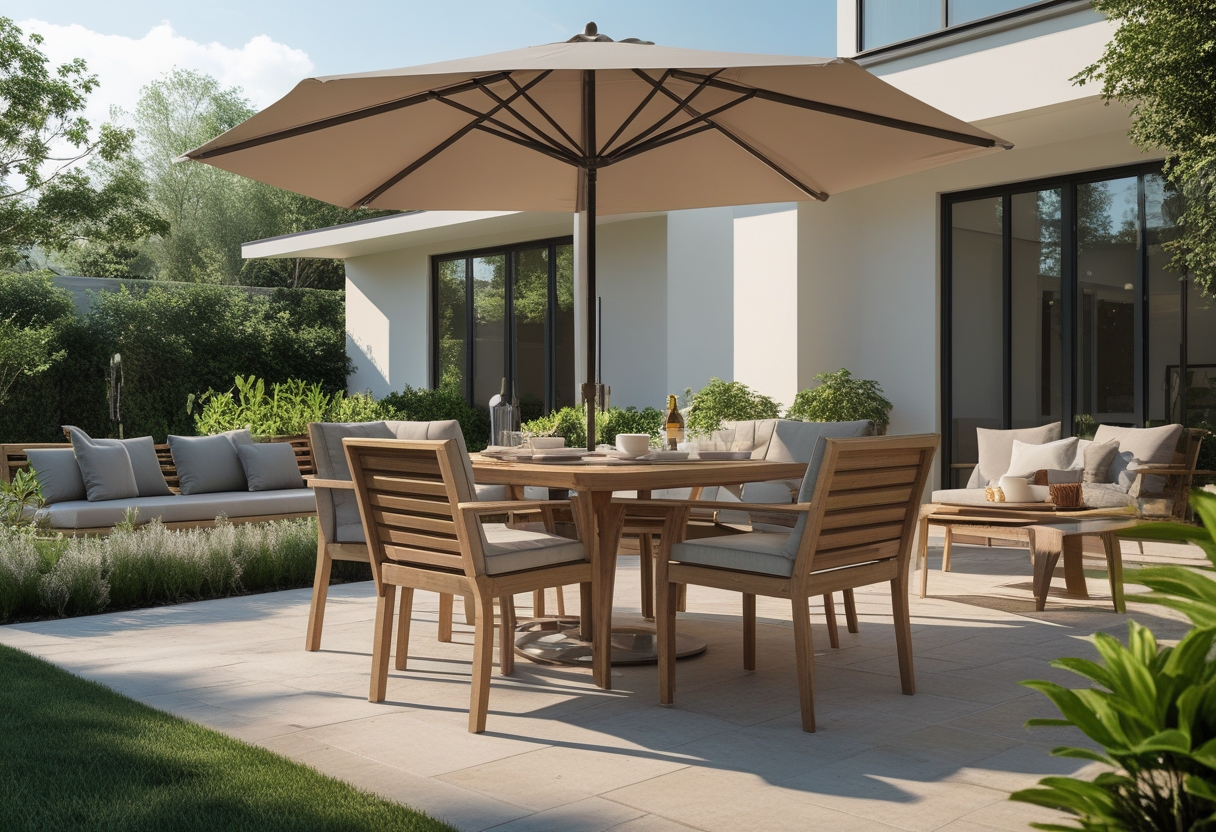
Know what you want the space to do and how much you can spend. Think about seating capacity, traffic flow, and materials that stand up to weather.
Assessing Space and Needs
Measure the usable area in feet and note fixed features like doors, steps, and planters. Draw a simple floor plan with a 1-inch = 1-foot scale. Mark clear walkways of at least 30–36 inches so people can move without squeezing past furniture.
Decide how you will use the space: dining for four, lounging for six, or mixed seating with a small dining table and two lounge chairs. Pick seating depth and table sizes that match those uses—18–20 inch seat heights for dining, deeper seats for lounging.
Factor in sunlight, wind, and storage. Choose quick-dry cushions and weather-resistant frames if the spot gets rain. If you plan DIY patio furniture, leave room for tools and materials during build and for storing cushions or covers when not in use.
Budgeting and Cost Savings
Set a clear dollar amount before you shop. Break the budget into materials, hardware, cushions, and finishes so you don’t overspend on one category. Compare costs for pressure-treated wood, cedar, and composite; wood is cheaper but needs maintenance, composites cost more up front but last longer.
Save money by using free patio furniture plans or modifying basic plans to fit budget-grade lumber. Build key pieces yourself—benches or a simple table—to cut labor costs. Buy cushions during sales or use indoor fabric with a waterproof spray to lower cost.
Plan for long-term costs too: maintenance supplies, replacement cushions, and covers. Spending a bit more now on durable materials can reduce repair and replacement costs later.
Essential Tools and Joinery Techniques
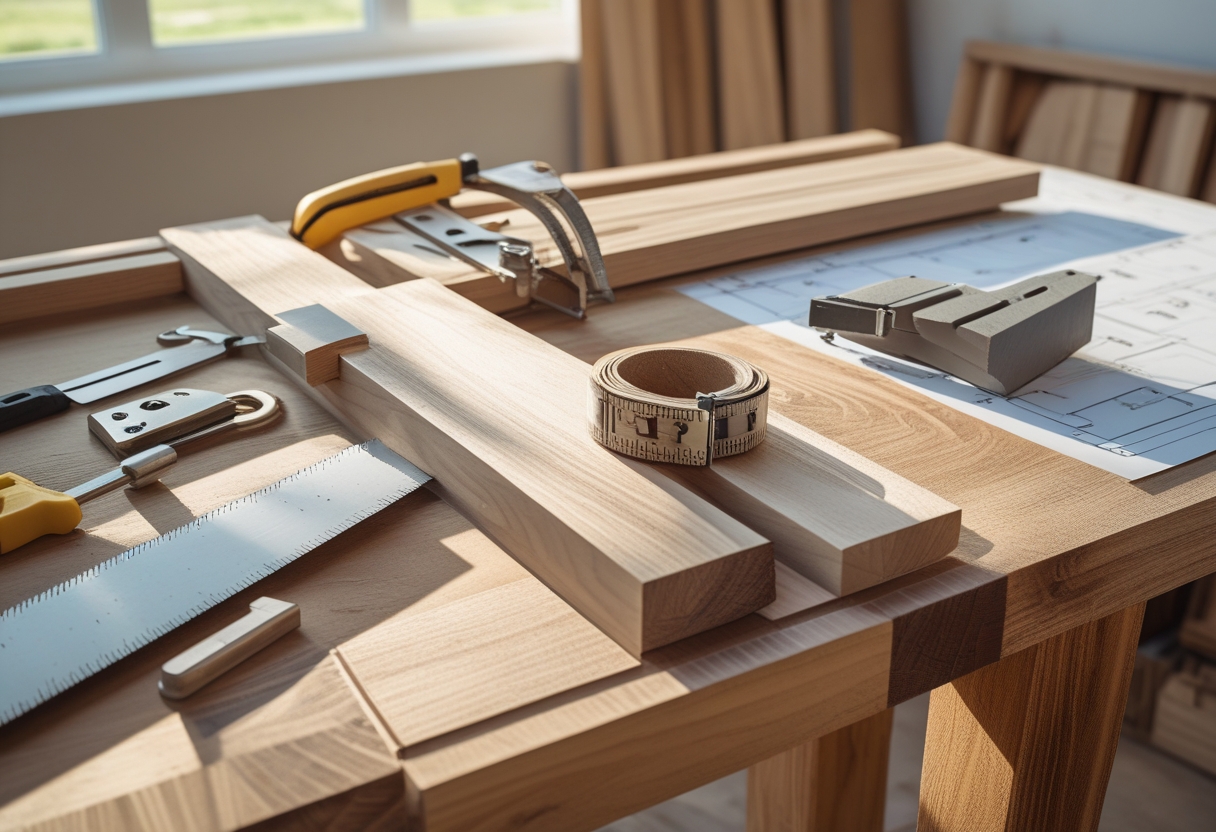
You need a compact set of tools and one reliable joinery method to build strong outdoor furniture. Focus on tools that cut, drill, clamp, and finish, and learn pocket screws for quick, weather-ready frames.
Required Tools for Construction
Start with a circular saw (6.5″ blade) for straight cuts and a drill/driver with a clutch for driving screws. Get a pocket hole jig — cheap and versatile for frames — plus a set of clamps (four 24″ bar clamps) to hold glue-ups tight.
Add a tape measure, combination square, and pencil for accurate layout. Keep a 220-grit sanding block and exterior-grade brush for finishing. Buy a drill bit set including spade bits and a countersink. Safety gear matters: ANSI Z87 safety glasses, hearing protection, and a dust mask.
If you can, add a cordless impact driver and a portable workbench or sawhorses. These speed up repeat cuts and assembly. For outdoor projects, choose corrosion-resistant deck screws and exterior glue like Titebond III.
Using Pocket Screws Effectively
Pocket screws pull boards tight and hide fasteners under the tabletop or apron. Set your jig for the board thickness (commonly 1.5″) and clamp the joint before drilling. Use pocket screws labeled for exterior use or stainless steel when you expect moisture.
Pre-drill pocket holes with a stop collar to keep depth consistent. Drive screws with low torque to avoid blowout; test on scrap wood to set the clutch. Place two pocket screws per short joint and stagger them on long rails for even clamping.
Seal the holes with wood filler or a dab of exterior glue before finishing. In DIY patio furniture plans and other DIY outdoor furniture plans, pocket screws save time and give clean looks while standing up to seasonal movement when paired with proper sealing and screw choice.
Building Popular Outdoor Seating Projects
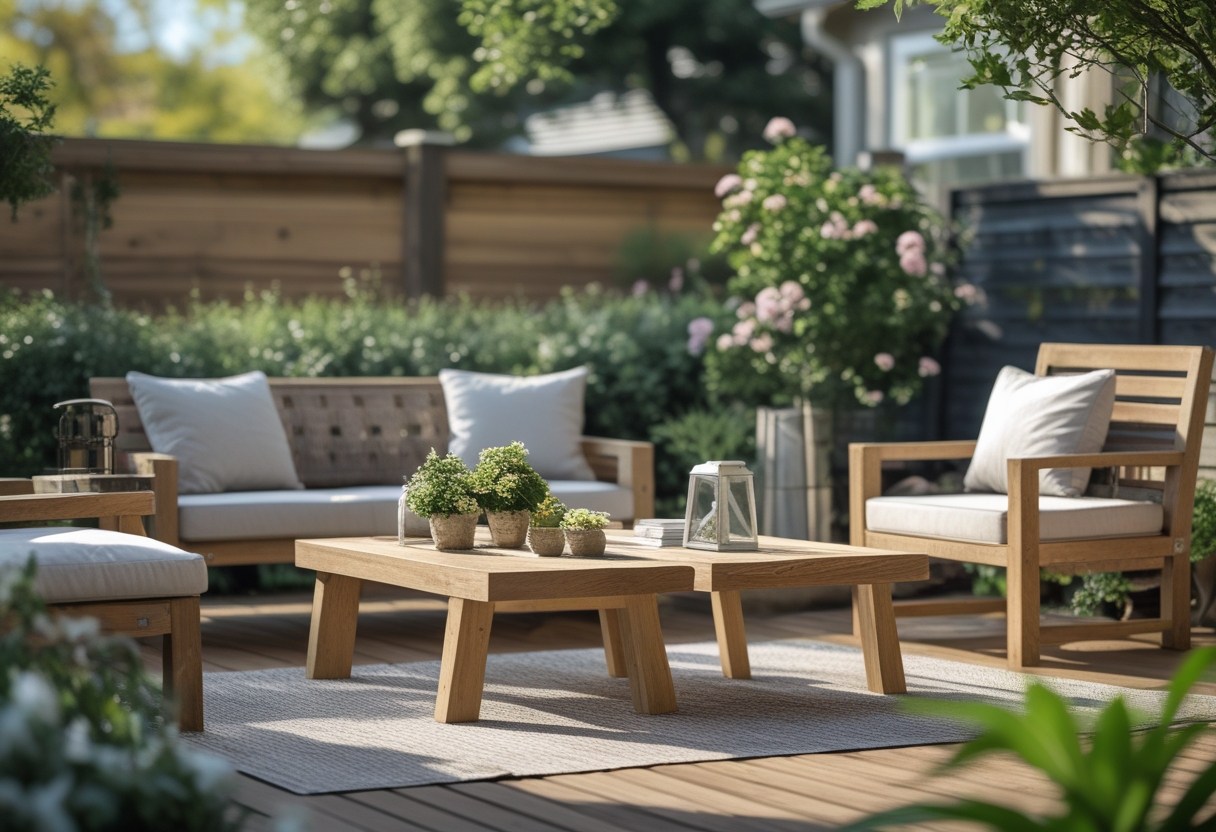
Choose materials that match your climate and finish them for weather resistance. Measure twice, cut once, and use pocket screws or mortise-and-tenon joints for strong connections.
Constructing Adirondack Chairs
Adirondack chairs use wide slatted seats and a reclined back for comfort. Start with treated cedar or teak for rot resistance. Cut the angled back slats and wide armrests from 1×4 or 1×6 boards; the seat uses parallel slats with small gaps for drainage.
Use a simple jig to set the back angle and mark seat-to-back joinery before cutting. Fasten with exterior-grade screws and add glue in joints for strength. Sand edges to remove splinters and round armrests for comfort. Finish with exterior paint, spar urethane, or penetrating oil. Add felt pads if you plan to slide chairs on a deck.
Making Sturdy Outdoor Benches
For a long-lasting DIY outdoor bench, choose 2×4 or 2×6 boards for legs and supports. Build a strong frame: two end aprons and a center support under the seat prevent sagging. If seating spans over 6 feet, add extra legs every 2–3 feet.
Cut seat slats from 1×4 boards and leave 1/8″–1/4″ gaps for water runoff. Use galvanized or stainless screws and carriage bolts at critical joints. For a finished look, rout the edges and pre-drill holes to avoid splitting. You can convert a bench into a DIY outdoor sofa by adding back supports, cushions, and weatherproof upholstery.
Designs for Outdoor Cabana Lounge
An outdoor cabana lounge blends shade, privacy, and cushioned seating for lounging. Start with a sturdy base using 4×4 posts anchored to the deck or concrete. Add rafters and a removable fabric canopy or slatted roof for sun control.
Build deep, low-seating frames with 2×6 or 2×8 boards and foam cushions rated for outdoor use. Use quick-release covers or water-resistant zippers for easy cleaning. Incorporate side tables and storage under the seating for cushions and throws. For a coastal look, paint the frame white and use nautical fabric; for modern style, keep raw wood and neutral cushions.
Outdoor Tables for Every Patio
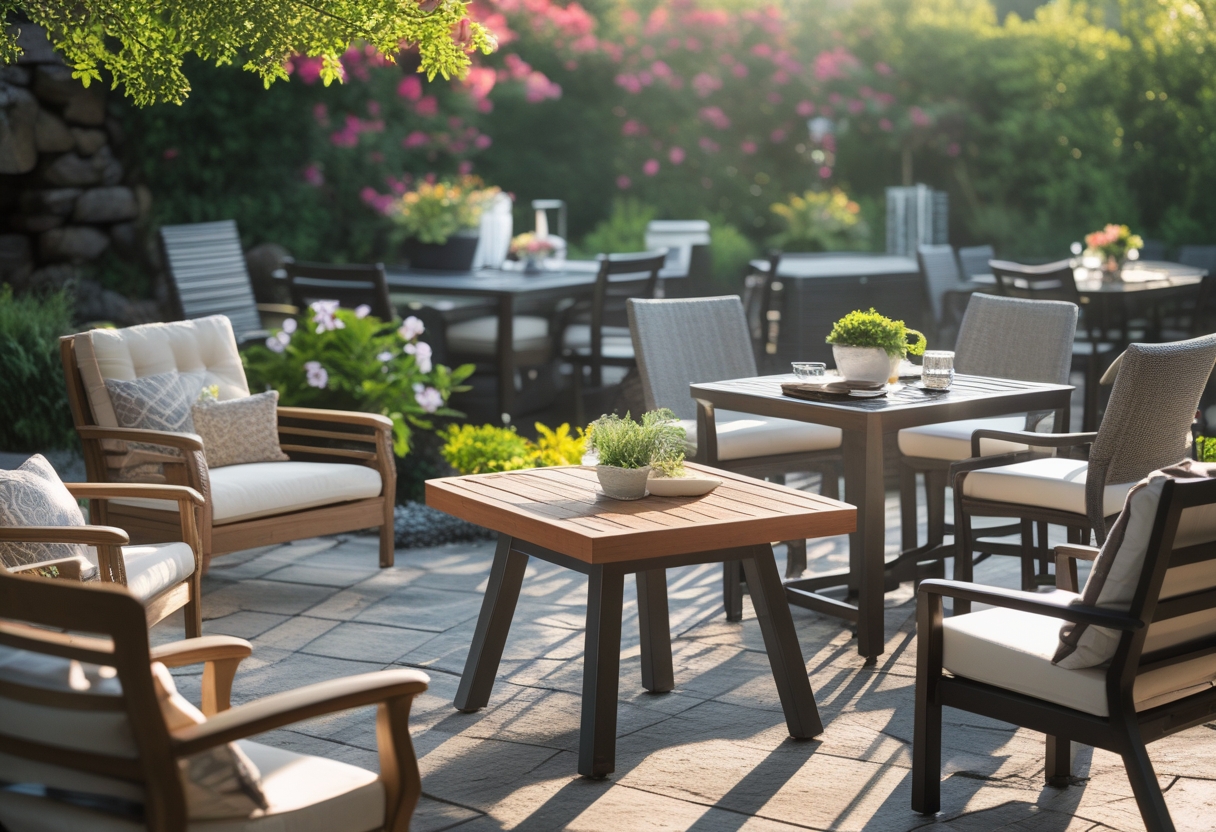
Choose a table that fits your space, use, and weather. Focus on size, material, and finish so the table lasts and suits your routine.
Step-by-Step Outdoor Coffee Table
Pick a size that fits your seating area; 36–48 inches long works for most three-seat arrangements. Start with pressure-treated lumber or cedar for legs and frame; use 3/4″ exterior plywood or 1x cedar boards for the top. Cut parts to length, then sand edges smooth.
Assemble the frame first with exterior wood screws and waterproof wood glue. Attach legs at the corners using corner brackets for extra strength. Fasten the tabletop boards to the frame with stainless steel screws spaced 6–8 inches apart.
Add a simple feature like a slatted top for drainage or a recessed center for a removable tray. Sand, fill screw holes with exterior wood filler, and sand again before finishing. Total build time: 4–6 hours for a basic DIY outdoor coffee table.
Crafting a DIY Outdoor Dining Table
Measure your dining needs: allow 24 inches width per person and 30 inches table height. For a 6-person table, cut a top roughly 72 x 36 inches. Use kiln-dried cedar, redwood, or tropical hardwood for the top; use HDPE or treated lumber for the base if budget matters.
Build a strong apron (4–6 inches tall) under the top to resist sagging. Use through-bolts or long exterior bolts at leg junctions for a rigid frame. If you plan to leave the table outside, design for easy tightening of fasteners and include a removable leaf or foldable ends for storage.
Consider a cross-brace or stretcher under the table to prevent wobble. Pre-drill all bolt holes to avoid splitting. Finish assembly by sanding, sealing end grain, and checking for level. Expect 1–2 weekend days for construction.
Tips for Durable Table Finishes
Choose a finish that matches your wood and exposure. For cedar and redwood, a tinted penetrating oil (like teak oil or an oil–wax blend) preserves color and repels moisture. For softwoods or painted styles, use a marine-grade exterior paint or spar urethane.
Apply finish in thin coats and follow manufacturer cure times. Seal end grain with two extra coats; it soaks up water faster. Reapply maintenance coats every 12–24 months depending on sun and rain exposure.
Use stainless steel or coated fasteners to prevent rust stains and finish failure. Store cushions separately and cover the table during long storms to extend the finish life.
