You can grow fresh vegetables on a balcony, porch, or small patio with the right pots, soil, and sun. Pick the right container size, use a light soilless mix, and place your pots where they get at least 6 hours of sun for fruiting crops—this simple setup gives you the best chance for big, healthy yields.
This post shows how to get container vegetable gardening right: choosing containers and soil, placing and watering plants, and caring for crops so you actually harvest food. Follow straightforward steps for planting, maintenance, and harvesting so you can grow your own veggies without guesswork.
Getting Container Vegetable Gardening Right
Get containers that match the plants you want, use a light soilless mix that holds water and drains, water deeply but avoid soggy soil, and feed plants on a regular schedule. Small changes in container size, drainage, and fertilizer will affect yield and plant health.
Choosing the Best Containers and Sizes
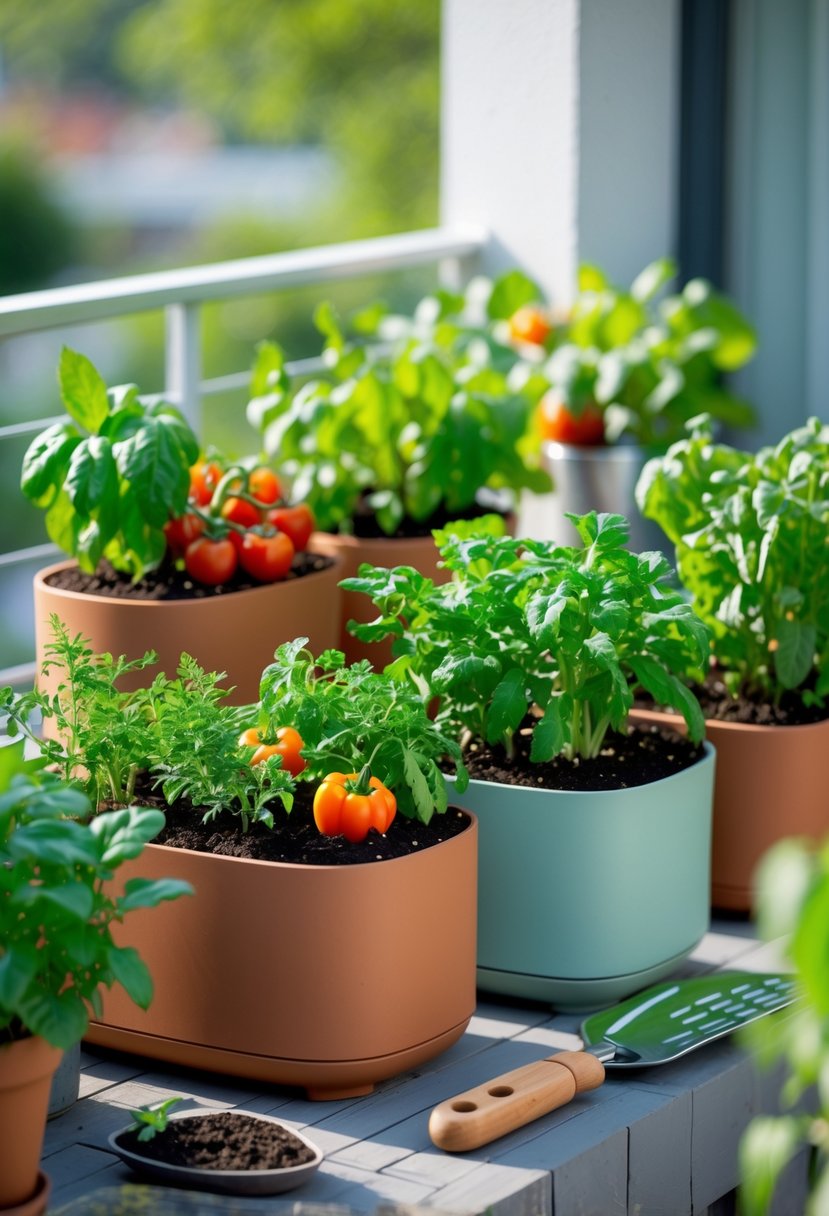
Pick a container size that fits the vegetable’s root system. Tomatoes and larger peppers need at least a 15–20 inch (38–50 cm) diameter pot or a 5–7 gallon (19–26 L) container. Leafy greens and herbs do well in 6–8 inch pots. Use fabric grow bags for good air pruning and root health; they dry faster so plan to water more often.
Match material to your site. Plastic pots stay moist longer and weigh less. Terracotta breathes but dries out faster and can crack in cold. Wooden planter boxes insulate roots but watch for rot; line them if needed. Always use containers with drainage holes and elevate them on pot feet or blocks to keep holes clear.
Selecting and Using Quality Potting Mix
Use a soilless potting mix, not garden soil. A good mix blends peat or coco coir with perlite or vermiculite and some compost for nutrients. Coco coir holds moisture and resists compaction; perlite or vermiculite improves drainage and aeration. Avoid mixes that are heavy or have visible large amounts of topsoil.
Mix in up to 20–30% finished compost for slow nutrient release. Add a slow-release fertilizer at planting if the mix lacks nutrients. Fill containers so the soil sits a little below the rim to allow watering without overflow. Monitor soil temperature: dark plastic pots heat up quickly and can stress roots on hot days.
Optimal Watering and Drainage Practices
Water deeply until water runs from the drainage holes to ensure the whole root zone wets. Check moisture by sticking your finger 1–2 inches into the mix; this tells you whether to water. Frequency depends on container size and weather: small pots may need daily watering in summer; larger containers often need it every 2–3 days.
Prevent root rot by ensuring proper drainage and avoiding standing water. Use pot feet or elevate containers so drainage holes stay clear. For hot, sunny locations, consider self-watering containers or thick-mulch on the surface to reduce watering frequency. If soil stays cold and wet, reduce watering to keep roots healthy.
Fertilizing and Supporting Container Vegetables
Feed container vegetables regularly because roots only access the potting mix nutrients. Apply a balanced slow-release fertilizer at planting time and supplement with a water-soluble fertilizer every 2–4 weeks during the growing season. Follow product rates to avoid burning roots.
Support plants that climb or get heavy. Use cages or stakes for tomatoes and trellises for cucumbers and pole beans. Replace or refresh the top 1–2 inches of potting mix each season and refresh slow-release fertilizer annually. Check for nutrient deficiency signs—yellowing leaves or poor fruit set—and adjust fertilizer or compost additions as needed.
Growing, Maintaining, and Harvesting Container Vegetables
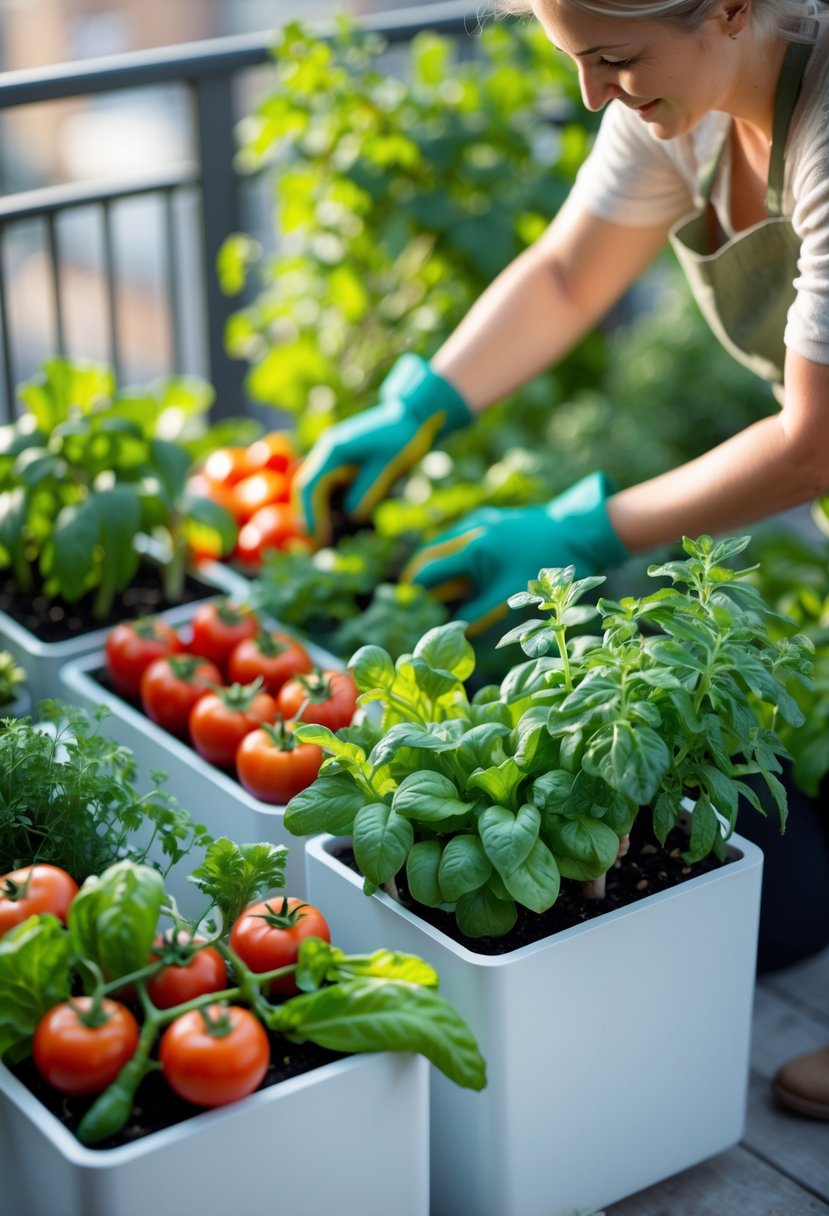
You will choose short, sturdy plants, give them steady water and feed, and check for pests and diseases every few days. Good containers, the right soil, and regular care make the difference between a few sad leaves and a steady harvest.
Selecting Vegetables and Varieties for Containers
Pick vegetables that suit pot life and root space. Choose bush varieties, dwarf varieties, or determinate tomatoes labeled for containers. Leafy greens, radishes, bush beans, compact peppers, and patio tomatoes work well in 6–12 inch pots. Tomatoes need at least a 10–20 inch pot depending on variety; determinate types stay compact and set fruit all at once.
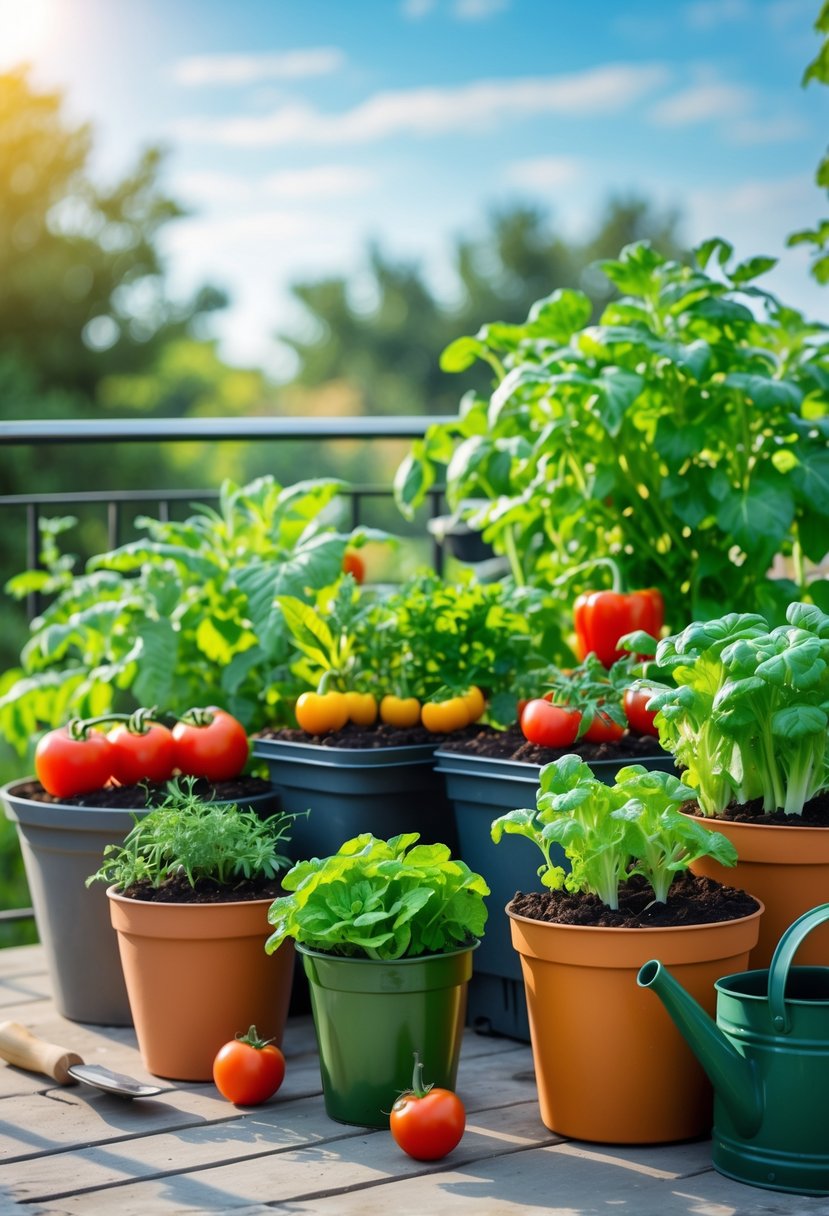
Match sun needs to your spot. Put sun-loving crops (tomatoes, peppers) in 6+ hours of direct sun. Give partial-shade crops (lettuce, kale) an east-facing location or afternoon shade. Use a soilless potting mix and a container with drainage holes. Aim for one plant per pot unless using a large container for a small mixed group.
Label variety names and planting dates. That helps with watering and fertilizer schedules and lets you track which varieties perform best in your container vegetable garden.
Pruning, Training, and Pest Control
Train vining or tall plants early. Use stakes, cages, or a small trellis for indeterminate tomatoes, cucumbers, and pole beans. Prune only when needed: remove suckers on indeterminate tomatoes to improve air flow, but leave foliage on determinate tomatoes to preserve fruit set.
Inspect plants every 2–3 days for pests like aphids, caterpillars, and whiteflies. Handpick larger pests. Use insecticidal soap or neem oil for small soft-bodied insects, following label directions. Remove yellowing or diseased leaves promptly and sanitize tools between cuts.
Rotate crops in pots if possible and replace top 1–2 inches of potting mix each season. Keep containers off the ground on pot feet to deter slugs and improve drainage. Good airflow, proper spacing, and steady watering reduce most pest and disease problems.
Maximizing Yields and Troubleshooting Issues
Feed container plants more often than in-ground plants. Apply a balanced slow-release fertilizer at planting and supplement with a water-soluble fertilizer every 2–4 weeks during fruiting. For heavy feeders like tomatoes, use a fertilizer higher in phosphorus and potassium once flowers form.
Water deeply until excess drains, then let the top inch of mix dry slightly before watering again. Hot weather may require daily watering. Mulch the surface with straw or shredded bark to slow evaporation.
If leaves turn yellow, check for overwatering, compacted mix, or nutrient deficiency. Poor fruit set often means too little light, inconsistent water, or lack of pollination; gently shake flowers or move containers where pollinators visit. If growth is stunted, test pH and consider repotting into a larger container with fresh soilless mix.